
Event overview.
The main focus of this event is to plan a strategy, train a team, and achieve a win streak while also finding shinies during this journey.
If you are a PvE battler interested in shiny Pokémon or a shiny hunter on the verge of trying battle facilities, this event will be the perfect excuse to start once and for all! Whether you want to go full tryhard or take a more casual approach, you will be able to share your experiences with others. The event begins on the 1st of July and is active until the 31st of the same month.
Information.
The post-game Battle Frontier facilities let you take on some of the most difficult challenges in the series: fighting against multiple random trainers until facing the Frontier Brains. After generations 3 and 4, they introduced other strong characters to battle against, like the Subway Bosses or the Battle Chatelaines.
The Battle Frontier also includes an achievement system for the symbols, which you can earn by beating each of the brains on different stages. For example, you will get a silver symbol in the Battle Tower after beating the 35th trainer, Anabel. You will be rewarded the Battle Tower gold symbol after beating her a second time at the 70th battle of the streak.
| Generation 3 | ||
|---|---|---|
| Boss | Location | Streak |
 Salon Maiden Anabel Salon Maiden Anabel |
Battle Tower |
- Silver: 35 - Gold: 70 |
 Dome Ace Tucker Dome Ace Tucker |
Battle Dome |
- Silver: 20 - Gold: 40 |
 Pike Queen Lucy Pike Queen Lucy |
Battle Pike |
- Silver: 2 passes - Gold: 10 passes |
 Factory Head Noland Factory Head Noland |
Battle Factory |
- Silver: 21 - Gold: 42 |
 Palace Maven Spenser Palace Maven Spenser |
Battle Palace |
- Silver: 21 - Gold: 42 |
 Arena Tycoon Greta Arena Tycoon Greta |
Battle Arena |
- Silver: 28 - Gold: 56 |
 Pyramid King Brandon Pyramid King Brandon |
Battle Pyramid |
- Silver: 21 floors - Gold: 70 floors |
| Generation 4 | ||
|---|---|---|
| Boss | Location | Streak |
 Tower Tycoon Palmer Tower Tycoon Palmer |
Battle Tower |
- Silver: 21 - Gold: 49 |
 Arcade Star Dahlia Arcade Star Dahlia |
Battle Arcade |
- Silver: 21 - Gold: 49 |
 Castle Valet Darach Castle Valet Darach |
Battle Castle |
- Silver: 21 - Gold: 49 |
 Hall Matron Argenta Hall Matron Argenta |
Battle Hall |
- Silver: 50 - Gold: 170 |
 Factory Head Thorton Factory Head Thorton |
Battle Factory |
- Silver: 21 - Gold: 49 |
Games and battle facilities.
Any games with battle facilities are allowed, but I encourage you to play the ones from generations 3 to 5. With that said, the places where you can play this event are:
| Generation | Games | Location | Records | Shiny Pokémon |
|---|---|---|---|---|
| 3 | Ruby & Sapphire | Battle Tower |
- Single (level 50, open level) - Double (level 50, open level) - Multi (level 50, open level) |
Yes |
| Emerald | Battle Tower |
- Single (level 50, open level) - Double (level 50, open level) - Multi (level 50, open level) |
Yes | |
| Battle Factory |
- Single (level 50, open level) - Double (level 50, open level) |
|||
| Battle Dome | ||||
| Battle Palace | ||||
| Battle Arena | - Single (level 50, open level) | |||
| Battle Pike | ||||
| Battle Pyramid | ||||
| 4 | Diamond & Pearl | Battle Tower |
- Single - Double - Multi - Link |
Yes (odds may be way harder than 1/8192) |
| Platinum Heart Gold & Soul Silver |
Battle Tower |
- Single - Double - Multi - Link |
Yes | |
| Battle Hall |
- Single - Double - Link |
|||
| Battle Catle | ||||
| Battle Arcade | ||||
| Battle Factory |
- Single (level 50, open level) - Double (level 50, open level) - Link (level 50, open level) |
|||
| 5 | Black & White | Battle Subway |
- Super single - Super double - Super multi |
No |
| Black 2 & White 2 | ||||
| 6 | X & Y | Battle Maison |
- Single - Double - Triple - Rotation - Multi |
|
| Omega Ruby & Alpha Sapphire | ||||
| 7 | Sun & Moon | Battle Tree |
- Super single - Super double - Super multi |
|
| Ultra Sun & Ultra Moon | ||||
| 8 | Sword & Shield | Master Dojo | - Restricted Sparring | |
| Max Lair | - Endless Dynamax Adventures | |||
| Battle Tower |
- Single - Double |
|||
| Brilliant Diamond & Shining Pearl | Battle Tower |
- Master class single - Master class double |
Shiny Pokémon.
They obviously are also a part of this event, and there are multiple ways you can find them:
- Breeding Pokémon: You may hatch a shiny Pokémon while breeding a team for battles, but keep in mind that the chance of finding one with good IVs and the right ability is highly unlikely. It's not recommended to use a mediocre Pokémon, but it's up to you; we're here to have fun.
- EV training: even with the optimal setup, you will have to see a large amount of wild Pokémon in order to train your whole team, especially in older games. Finding a shiny during this process is not unheard of at all.
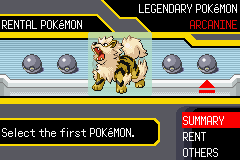
- Battles: in some battle facilities, the NPC trainers will have a chance to have shiny Pokémon. You may also find shiny Pokémon in the Battle Factory while choosing your Pokémon.
- Wild encounters: in some of the trials, you will find wild Pokémon who are also randomly generated. The Battle Pyramid is the best example for this: aside from the wide variety of Pokémon, you can also prepare beforehand to catch them through a glitch where you can place any item inside the Battle Pyramid bag.
As you can see, there are multiple situations where you will have the chance to find a random shiny Pokémon, but you will also be able to hunt them in purpose if you prefer.
Teambuilding.
During the process of creating a team for the battle facilities, there is an incommensurable amount of situations to consider. While there isn't any perfect team that is prepared for every scenario (I'm looking at you, RNG), we can always strive to make the best out of the cards we have. Whether you want to achieve a long streak, beat bosses, or just have fun with Pokémon you like, there are multiple things you can do to maximize your team's efforts. Here are some general steps you can take to make sure your team performs well:
- Battle mode selection. Singles? Double battles alone or with a friend? Maybe a different place, like the Battle Arena? There are multiple choices for a lot of playstyles, each with their challenges.
- Main strategy planning. The main approach of your team can be widely different depending on how you like to play. Balanced teams with bulky attackers, hyper offense, weather-boosted Pokémon, crippling control moves, setup sweepers… Try to make a team as creative or reliable as you like. Sometimes all it takes is a Pokémon choice to get the machinery in your brain rolling. Make sure that the combination of moves and abilities is possible to obtain, as some of them may not be possible due to limitations on the egg move and hidden ability systems.
- Failure scenario alignment. Look at your team from an outside perspective; what could their weaknesses be? Not just type weaknesses, but situational disadvantages. Could they struggle against Trick Room, weather teams, Double Team or Minimize users, or status conditions? You may want to adjust your team if you identify any problem that could stop you on your feet.
- Pre-commitment testing. This is mainly for console players or those who want to breed the Pokémon themselves. Create and use the team using an emulator before you obtain the Pokémon with the correct IVs, moves, and abilities. It may feel like "cheating", but it's better to make sure that your team seems to be on a good track before committing to it. This is just in case it doesn't perform as well as you would have hoped, and the effort turns meaningless or you lose motivation. This will also help in finding small flaws or making changes to the team composition. After testing, if you feel confident in your team's synergy, you can go ahead and train them on your cartridge for real. As a side note, remember that playing on an emulator doesn't make your streak any less valid, as long as it is legit.
Pokémon to keep in mind.
| Offense | Setup Sweepers | Support | Stall |
|---|---|---|---|
| Generation 3 | |||
|
|
|
|
|
| Generation 4 | |||
|
|
|
|
|
| Generation 5 | |||
|
|
|
|
|
Strategy examples.
Click on any of the categories to show. Click again to hide.
-
Control Pokémon + sweeper ▼
This team composition is mainly for single battles, as they allow you to have more control over your opponent. Powerful setup sweepers like Latios should be positioned in the back, supported by one or two Pokémon with crippling moves. The goal of this strategy is to turn any opponent into safe setup fodder for the sweeper. These are usually tanky Pokémon (for example, Blissey, Skarmory, Latias…) with moves that reduce the opponent's stats or let you stall their PPs out. Some psychic-type Pokémon to consider, like Alakazam, Gardevoir, Mesprit, or Uxie, get a wide variety of utility moves like Flash, Thunder Wave, Memento, Trick (along with a choice item like Choice Scarf), Charm, or Yawn. Other useful Pokémon can also learn moves like Taunt and Encore, like Whimsicott, or Sand-Attack in combination with other previously mentioned moves, like Stoutland. This strategy not only lets you switch in a sweeper safely but also lets you scout out which Pokémon set you are battling against.
Durant gets a special mention due to its access to Entrainment, which lets it swap its ability with the opponent. This gives the opponent the crippling effect of the Truant ability: not being able to move every second turn. This allows the team to be completely safe from attacks by using Protect in the turns where the enemy can attack, giving you a free setup pass.
Strong sweepers include special attackers like Latios or Suicune with Calm Mind and Volcarona with Quiver Dance. Physical attackers like Garchomp with Swords Dance, Salamence, Gyarados, or Dragonite with Dragon Dance, and Registeel or Ferrothorn with Curse. Other examples include Drapion or Tentacruel with Acupressure. One very special and different sweeper is Cloyster, tearing through almost any team with Shell Smash and Skill Link. These Pokémon are usually bulky enough by themselves, have good coverage with their STABs, and always pack Substitute to prevent any RNG shenanigans while setting up.
In general, most of these teams are carefully crafted to reach long streaks that usually surpass the 100 wins line. The downside is that they usually tend to drag battles on time and sometimes require patience to use, but they are incredibly reliable.
-
Hyper offense ▼
They say the best defense is a good offense. Or was it the other way around? Either way, your opponent can't defeat your Pokémon if you KO them faster. The main focus of this strategy is to have hard-hitting Pokémon that take care of the opponent quickly with explosive damage. These Pokémon usually have STABs that complement each other well and a decent amount of coverage.
This type of team is pretty straightforward, although it can have more depth than it may seem at first. Choosing the right moves involves a lot of testing. For example, Slaking is a Pokémon that can dish out incredible amounts of damage, but it gets multiple options for its STABs. Double-Edge has high power, but it also deals knockback damage, so you may want to check other options like Return, which lets you sacrifice a little bit of power to not have any downsides. Hyper Beam is another option, and Slaking's Truant ability may seem perfect for it, but it also stops you from switching out. As for coverage, you can also have some dilemmas: choose Brick Break to get rid of the likes of Tyranitar or Aerial Ace to never miss against those annoying grass-type Double Team Pokémon? It depends on your team's synergy.
Special attackers like Latios, Suicune, or Raikou are great examples of this strategy. They also have access to setup moves like Calm Mind. Starmie, Gengar, or Jolteon can also be very versatile options as team leads while carrying Choice Specs.
Among physical attackers, it's worth mentioning Salamence, Metagross, Dragonite, Slaking, Heracross, Tauros, Aerodactyl, Garchomp, Machamp, Mamoswine, and Terrakion. These Pokémon are great on almost every generation they can be used in. Their moves' power and raw attacking stats make their damage output incredibly high. Other sweepers benefit from their access to Swords Dance, like Scizor, or Dragon Dance, like Tyranitar or the previously mentioned Salamence and Dragonite.
There are others who can work with a mixed build, using both of their attacking stats. Swampert or Infernape can fulfil this role, although in Infernape's case, it's more commonly used with a full physical set with a Choice Band, as its physical moves outpower the special ones.
-
Rain ▼
Rain is a type of weather that boosts the power of water-type moves by 50% and weakens fire-type moves by the same amount. Furthermore, the rain also activates some other effects and abilities during battle, but the most important ones are:
- Pokémon with the Dry Skin or Rain Dish ability heal ⅛ of their maximum HP at the end of each turn.
- Pokémon with the Hydration ability have their status condition healed at the end of the turn.
- Pokémon with the Swift Swim ability have their speed stat doubled.
- Weather Ball doubles in power and changes to a water-type move.
- Thunder and Hurricane bypass the accuracy check.
- Solar Beam and Solar Blade have their power halved.
- Moonlight, Synthesis, and Morning Sun heal ¼ total HP instead of ½.
Rain teams use a core of Rain Dance/Drizzle with Swift Swim attackers. The boost from Swift Swim will let your Pokémon outspeed everything that doesn't carry a choice scarf, and the extra power to water-type moves lets them dish out high amounts of damage.
Aside from water Pokémon, there are others who benefit from rain just as much. Some examples include those who can use Thunder or Hurricane indiscriminately without worrying about missing or Pokémon who are especially vulnerable against fire-type moves.
Pokémon with the Drizzle ability are the best to set rain, as they will summon it as soon as they hit the field. Depending on the generation, you can use Politoed (gen 5+) or Pelipper (gen 7+). Setting the rain up manually with Rain Dance is also an option, as most of the Pokémon you can consider for this team archetype will learn it.
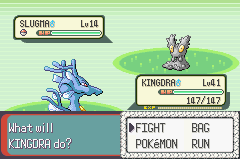
Rain teams offer a wide variety of possible setups and playstyles. For an offensive approach, there are multiple sweepers who can be too overwhelming for the AI opponents, like Kingdra, Omastar, Kabutops, and Ludicolo. Ludicolo can also work on the other side of the spectrum as an annoying Leech Seed user with sustainability from things like Rain Dish or Leftovers. More defensively orientated Pokémon can also leave a dent in the opposing team, like Gastrodon. In doubles, Gastrodon is especially strong, as it can be paired with a faster Surf user, as its Storm Drain ability will give it a special attack boost instead of receiving damage from its ally.
As for non-water-type Pokémon, Scizor is another strong physical attacker to consider. Scizor's typing gives it an advantage against many of the grass-type Pokémon that could pose a risk. Ferrothorn also benefits from the fire-type nerf from the rain, like Scizor, but with a more defensive approach. Another physical attacker to keep in mind is Toxicroak, with a completely different type coverage, water-type immunity, and recovery from the rain or its allies' moves (in double battles).
Thunder abusers like Zapdos and Rotom Wash are usually part of these teams, as they can also get rid of other problematic water-type Pokémon. Tornadus can work as a support with its Prankster ability, but it is also one of the strongest Hurricane users.
-
Harsh Sunlight ▼
Harsh sunlight is a type of weather that boosts the power of fire-type moves by 50% and weakens water-type moves by the same amount. In a similar vein to rain, the sun also has its own list of boosts:
- Pokémon with the Dry Skin ability lose ⅛ of their maximum HP at the end of each turn.
- Pokémon with the Leaf Guard ability become immune to status conditions. Existing conditions won't be healed.
- Pokémon with the Chlorophyll ability have their speed stat doubled.
- Pokémon with the Solar Power ability have their special attack boosted by 50%, and they lose ⅛ of their HP per turn in exchange.
- Pokémon with the ability Harvest are guaranteed to recover a berry at the end of the turn.
- The move Growth boosts the attack and special attack by two stages instead of one.
- Weather Ball doubles in power and changes to a fire-type move.
- Pokémon cannot be frozen.
- Solar Beam and Solar Blade activate instantly.
- Thunder and Hurricane have their accuracy lowered to 50%.
Sun teams use a mix of powerful grass-type Chlorophyll Pokémon and fire-type sweepers. The extra power for fire-type moves is devastating unless you encounter difficult resistance, like water or rock-type Pokémon. This problem is easily taken care of by the Chlorophyll Pokémon, as they will usually outspeed most threats. These Pokémon's goal is not just to create immediate danger, as they can be highly useful supports too.
Pokémon with the Drought ability are the best to set sun, as they will summon it as soon as they hit the field. Depending on the generation, you can use Ninetales (gen 5+), Mega Charizard Y (gen 6+), or Torkoal (gen 7+). Setting the sun up manually with Sunny Day is also an option, as most of the Pokémon you can consider for this team archetype will learn it.
Fire-type sweepers are plenty and each with their own unique traits. One of the most common strategies involves a Pokémon who can set the sun (Ninetales, Whimsicott) and one who learns Eruption (usually Typhlosion), an explosive amount of damage best suited to double battles. There are also plenty of setup sweepers like Volcarona with Quiver Dance or Blaziken with Swords Dance and Speed Boost. Some don't even need a boost to start dishing out damage, like Darmanitan with its Sheer Force ability, Heatran and Chandelure with their high special attack, or Infernape with its mixed attacker capabilities. Arcanine can also add some utility to the team (Intimidate, Will-O-Wisp) as well as some power.
Venusaur is one of the staple Chlorophyll users. It has decent bulk and good STAB. In some generations you may be able to also teach Weather Ball to Venusaur, giving it a strong fire-type coverage option. Tangrowth also shares some of Venusaur's traits, with an even greater defense. Victreebel is a strong contender, although much more frail. There are also some special attack-focused Chlorophyll users, like Exeggutor with its psychic STAB, or Lilligant with access to Quiver Dance. As for moves used to control the battle, most of these Pokémon can learn Sleep Powder.
Jumpluff can help the team with moves like Encore and Sleep Powder, but the supporter role in sun teams is usually given to Whimsicott. Although it lacks Chlorophyll, its access to Prankster lets Whimsicott use its status moves with priority, making speed tiers almost obsolete. Sunny Day, Taunt, Encore, and Tailwind are some of the most useful moves on Whimsicott.
Some dragon-type Pokémon can also be part of this type of team, especially those like Dragonite or Salamence who have a ground immunity. This also includes Latios, as it has the Levitate ability. They are strong sweepers from the beginning, but they also have access to setup strategies with Dragon Dance or Calm Mind. Bronzong and Cresselia can be useful for some sun teams for their defensive capabilities, especially in double battles where you can make use of Trick Room with a slow sweeper like Torkoal.
Some of the threats a sun team could face include dragon and fire-type Pokémon (especially those with the Flash Fire ability), bulky water-type Pokémon, and some Choice Scarf users who are faster than your Chlorophyll Pokémon.
-
Sandstorm ▼
Sandstorm is a type of weather that, from generation 4 and on, boosts the special defense of rock-type Pokémon by 50%. This weather is very different from the previous two.
- Every Pokémon loses 1/16 of their HP at the end of the turn, except rock-, steel-, or ground-type Pokémon, or those who have one of the Sand Force, Sand Rush, Sand Veil, Magic Guard, or Overcoat abilities. Holding Safety Goggles also prevents the Pokémon from receiving damage.
- Pokémon with the Sand Rush ability have their speed stat doubled.
- Pokémon with the Sand Force ability have the power of their rock-, steel-, and ground-type moves boosted by 30%.
- Pokémon with the Sand Veil ability decrease the accuracy of the moves used against them by 20%.
- Weather Ball doubles in power and changes to a rock-type move.
- Solar Beam and Solar Blade have their power halved.
- Shore Up heals ⅔ total HP instead of ½.
- Moonlight, Synthesis, and Morning Sun heal ¼ total HP instead of ½.
Sandstorm teams usually use Tyranitar as their main Pokémon to set up their weather, although Hippowdon can also fit into this role (and Gigalith in gens 7+). Overall, Tyranitar is the most optimal choice. Its crippling fighting-type weakness is not as bad when you consider the possible teammates.
For sweepers, there are multiple Pokémon who benefit from their immunity to sandstorm's residual damage and boosts. When you talk about sand sweepers, Excadrill is the first example to come to mind. Sand Rush gives it a similar role to the Swift Swim and Chlorophyll Pokémon: outspeeding almost everything and hitting hard. Garchomp is another versatile ground-type Pokémon, with access to Sand Veil and Swords Dance. It is very commonly seen in most sand teams. Scizor and Metagross are also very consistent physical attackers with access to a priority move with STAB in Bullet Punch. If you have read the previous archetypes, Scizor is no stranger to you, and just like under the rain, its fire-type weakness is well covered by the many rock- and ground-type partners. Lucario is another physical attacker to take into consideration, although it can also work as a special one, with a special Swords Dance equivalent: Nasty Plot.
The rock type also has multiple sweepers who can work as your main attackers. Terrakion's type combination, high attack and speed stats, and access to strong moves like Close Combat or Stone Edge make it a must-have in sandstorm teams. Aerodactyl lacks a decent flying-type STAB, but its sky-high speed lets it support its team well with utility moves like Tailwind as well as damaging ones like Rock Slide or Stone Edge.
For (mostly) double battles, Trick Room can work very well with this archetype, as there are multiple slow Pokémon who can benefit from the extra damage from sandstorm. Rhyperior is a perfect example of a Pokémon made for Trick Room Sandstorm teams: high HP, attack, and defense, with a very low speed stat. On paper, its weak special defense would put it much lower on the scale, but thanks to the boost from the sandstorm and its Rock Solid ability, it can survive attacks you would never expect. Bronzong can easily prepare the field for its teammates with Trick Room, as well as put pressure on the opponents with Explosion. Reuniclus, a Trick Room setter who becomes immune to sandstorm thanks to its Overcoat ability, can help Tyranitar get rid of the fighting-type Pokémon while being able to both tank and sweep with Calm Mind and its natural bulk. Gastrodon is another slow Pokémon who also adds a lot of utility to the team, redirecting water-type moves and turning them into special attack boosts, while being able to tank unsuspected hits. As a side note, any of these Pokémon can work perfectly outside of Trick Room and are worth considering for a regular sand team.
Heatran is a viable choice to counter grass and steel Pokémon. Magnezone, on the other hand, can handle water-type Pokémon. Empoleon puts pressure on Pokémon who are immune to the sandstorm thanks to their typing or resistant to the commonly used rock-, steel-, or ground-type moves from your team.
Skarmory is the prime example of a crippler in PvE: a tanky Pokémon that reduces the opponent's stats, allowing another team member to set up and sweep easily. Stalling with the chip damage from the sand and toxic while recovering with Roost is another option. Gliscor can stall the opponent with the passive recovery from its Poison Heal ability while holding a Toxic Orb. Both of them also come with the added benefit of a ground-type immunity.
And for last, and not any less important, other Pokémon to consider are Flygon, Dugtrio, Mamoswine, and Swampert.
Sample teams.
Click on any of the categories to show. Click again to hide.


Tips.
- For some, just reaching and beating the frontier bosses is enough, while others may want to go further. But a feeling that is commonly shared among everyone is that achieving your goal is rewarding after working hard.
- If you can, especially on generations where the Vs. Recorder is available, I recommend you try to keep track of what you have done during the battles where you lose. Being able to look back at your choices from an objective point of view will help you improve. Sometimes, there are situations that cannot be avoided, where RNG doesn't play in your favour with missing attacks or critical hits. This can happen to anyone, even to those with ridiculously high win streaks. Almost everyone has had to deal with a Quick Claw + Sheer Cold sweep at some point. The frustration is understandable, but don't let it kill your motivation.
- You can "easily" find shiny Pokémon in the Battle Factory. That is, if you don't mind uncatchable shiny Pokémon. For example, you can see at least 8 Pokémon in a double battle in the Battle Factory: the first 6 rental Pokémon you choose and the opponent's two leading ones in battle. After that, you can exit the challenge and repeat.
Sending your streaks, teams, or shinies.
You can share them on social media with the hashtag #FrontierFrenzy. You can also mention @TheBuriedRelic on Twitter or @buriedrelic.bsky.social on Bluesky. If you don't have an account or prefer not to share them there, you can send an e-mail to theburiedrelic@gmail.com.
All of the streaks, team ideas/strategies, or shiny Pokémon you send will be added to the Frontier Frenzy community page (with their proper credit), unless you opt out from it.
Streamer kit.
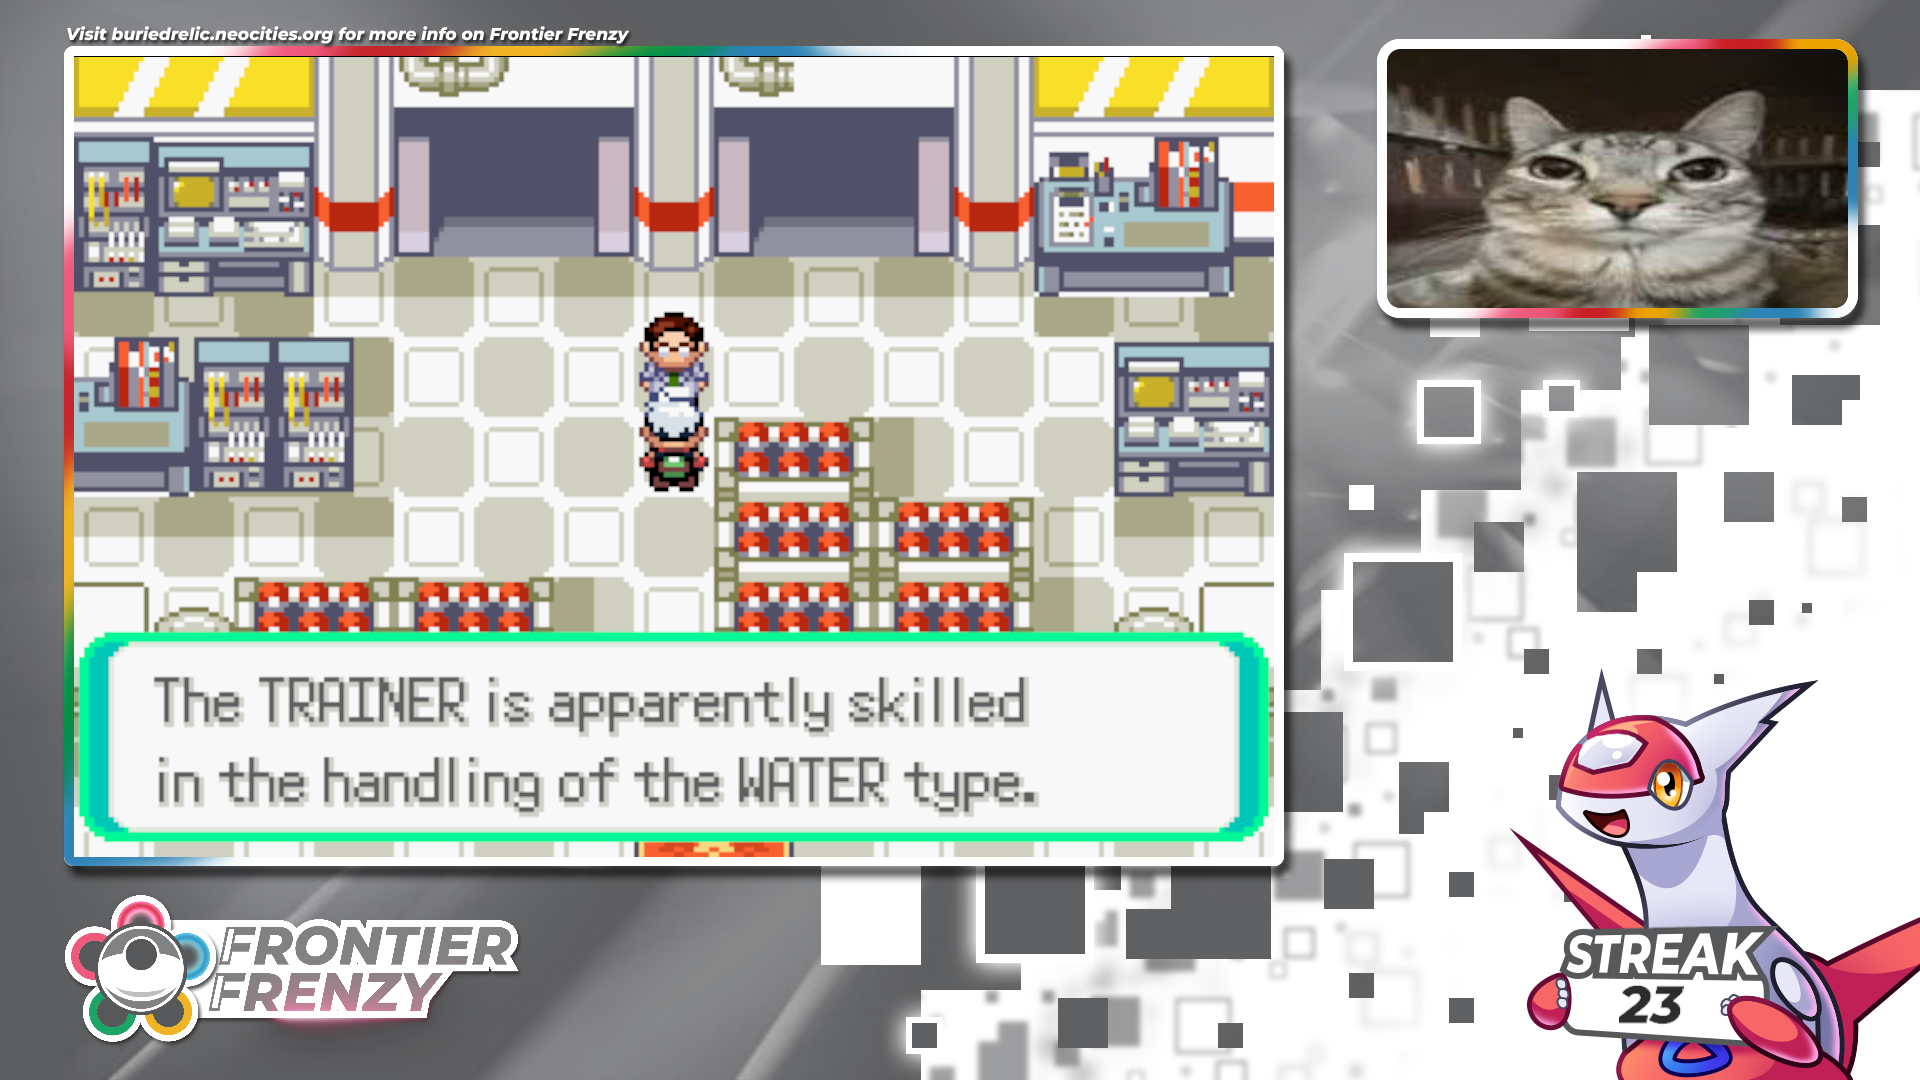
Are you a content creator, and do you want to play the event with your community? Then you can use these resources for your streams or videos, completely free! The kit includes multiple layouts for GBA, DS, 3DS, and Switch games, an animated logo to overlay in OBS, and a static logo. Make sure to also read the layout usage tips!
There are some empty spaces on each layout so you can place other important things, like the stream chat. You can also keep track of your streak using Latias' counter sign.